When living in the vibrant city of Miami, FL, residents know the importance of maintaining every aspect of their homes to ensure not only aesthetic appeal but also functionality and safety. One crucial component of many Miami homes that often goes unnoticed until it malfunctions is the garage door sensor. These small but mighty devices play a vital role in the safety and convenience of automatic garage doors, preventing accidents and injuries by reversing the door if an object or person is detected in its path.
In this comprehensive guide, we’ll walk you through the steps to replace a faulty garage door sensor, ensuring that your garage door operates smoothly and safely.
Understanding Garage Door Sensors
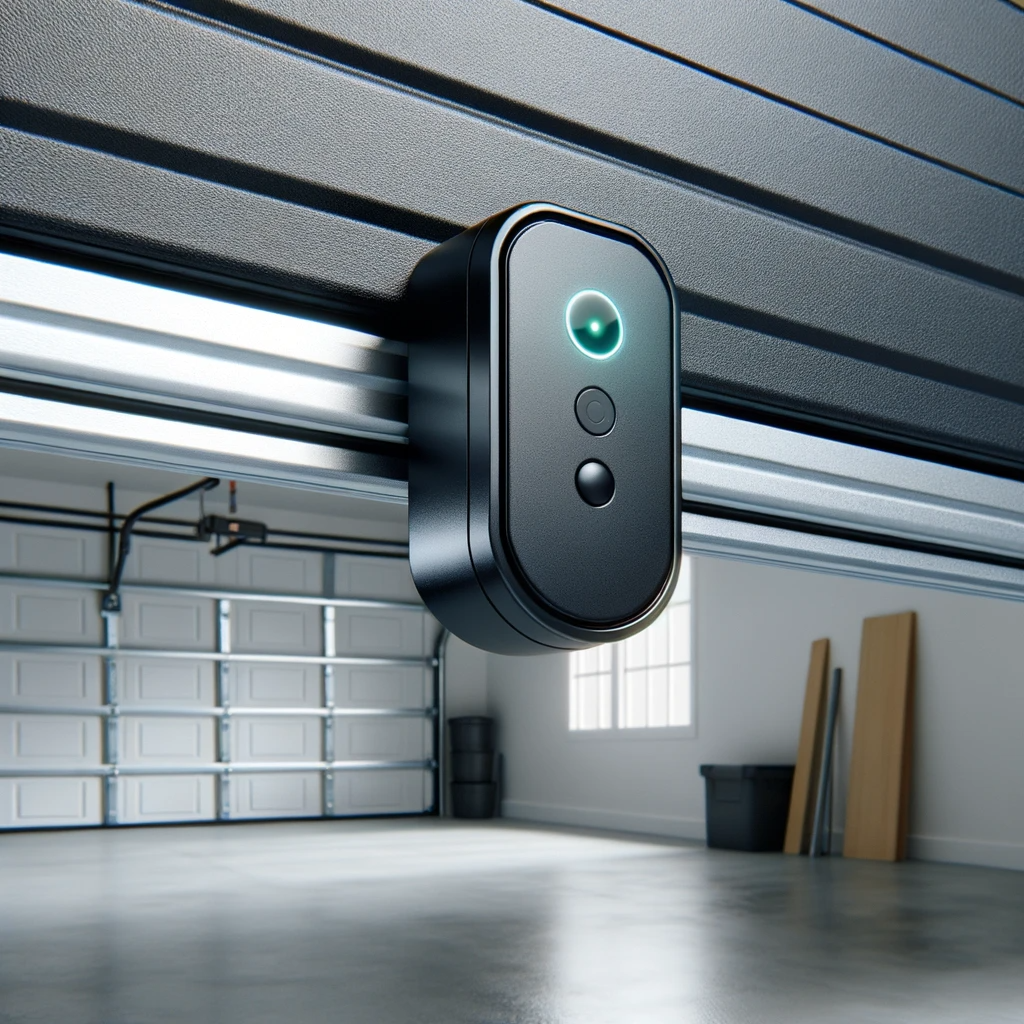
Garage door sensors are a part of the garage door opener system and consist of two units placed on either side of the door at about six inches above the ground. These sensors communicate with an infrared beam; if the beam is broken by any obstruction, the sensor signals the garage door opener to reverse the closing door to prevent a potential accident.
When Do You Need to Replace Your Garage Door Sensor?
Replacing your garage door sensor becomes necessary when you encounter specific issues indicating its failure or malfunction. Here are the key scenarios:
- Physical Damage: Garage door sensors can suffer from physical damage due to impact or general wear and tear over time. If you notice visible damage to the sensor, such as cracks, dents, or broken parts, it’s a clear sign that the sensor needs replacement.
- Misalignment: Sensors can shift out of alignment over time, especially with frequent use of the garage door. If the sensors are not properly aligned, they won’t be able to detect obstructions correctly. This misalignment can manifest as a garage door that refuses to close or opens unexpectedly.
- Electrical Issues: Problems such as power surges, electrical shorts, or faulty wiring can cause the sensor to malfunction. If the sensor behaves erratically or doesn’t light up (most sensors have indicator lights), this could indicate an electrical issue.
- Dirt and Debris: Over time, sensors can accumulate dirt, dust, and debris, which can obstruct their lenses and hinder their ability to function correctly. If cleaning the sensors doesn’t resolve the issue, it might be time to replace them.
In all these cases, it’s essential to address the issue promptly to ensure the safety and functionality of your garage door. If you’re not confident in diagnosing or fixing the garage door repair problem yourself, it’s advisable to consult a professional for assistance.
Tools and Materials You Will Need
When preparing to replace your garage door sensors, gathering all the necessary tools and materials is important to ensure a smooth and successful installation. Here’s a checklist of what you’ll need:
- Replacement Garage Door Sensors: This is the most crucial item. Ensure that the sensors you purchase are compatible with your specific garage door opener model.
- Screwdriver: Needed for removing and securing screws during the installation process. A set with various sizes and types (Phillips and flat-head) is beneficial.
- Wrench Set: Useful for loosening and tightening nuts and bolts that may be part of the sensor mounting mechanism.
- Wire Strippers: These are essential for stripping the insulation from wires when connecting the new sensors to the existing wiring.
- Electrical Tape: Used for insulating connections and ensuring a safe and secure electrical setup.
- Level: A critical tool to ensure that the sensors are perfectly aligned horizontally. Misaligned sensors can cause the garage door to malfunction.
Remember, safety is paramount, especially when undertaking tasks such as garage door repair. Always turn off the power to your garage door opener system before beginning the replacement process to avoid any electrical hazards. If you’re not comfortable with electrical work or if the installation process seems complicated, it’s wise to seek the assistance of a professional.
Safety Precautions
When replacing your garage door sensors, prioritizing safety is essential, especially since you’ll be working with electrical components and at heights. Here are some key safety precautions to follow:
- Turn Off Power: Before starting any work, ensure the power to your garage door opener is turned off at the circuit breaker. This precaution prevents any accidental electrical shocks and makes the work environment safer.
- Use a Ladder Safely: If you need to reach higher areas, use a stable ladder. Ensure it’s securely positioned and, if possible, have someone with you to stabilize the ladder and assist as needed. Never overreach or climb higher than the ladder’s safety guidelines suggest.
- Handle Wires Carefully: Be cautious when handling electrical wires. Even with the power off, treat wires with respect to avoid any accidental damage or personal injury. Use the proper tools, like wire strippers, and handle wires gently to prevent any breakage or shorts.
- Wear Appropriate Safety Gear: Depending on the specifics of the task, consider wearing safety gloves to protect your hands, especially when handling wires or sharp objects. Safety glasses can protect your eyes from any debris or dust.
- Check for Other Hazards: Before starting, scan the area for any potential hazards such as water, which can pose a risk when working with electrical components, or obstacles that might cause tripping or falling.
Remember, if at any point you feel unsure or uncomfortable with the garage door repair process, especially when it involves electrical work or working at heights, it’s advisable to consult a professional. Safety should always come first.
Step-by-Step Guide to Replacing Your Garage Door Sensor
Step 1: Identify the Faulty Sensor
Before you purchase new sensors, identify if one or both are faulty. Often, sensors have LED lights that indicate their status. If one light is off or blinking, that sensor might be the problem.
Step 2: Purchase the Correct Replacement
Head to your local home improvement store or order online the correct replacement sensors for your specific garage door opener brand and model.
Step 3: Turn Off the Power
Always start by turning off the power at the circuit breaker to ensure a safe working environment.
Step 4: Remove the Old Sensors
Using a screwdriver or wrench, unscrew the sensors from their mounting brackets. Carefully disconnect the wires, noting how they are connected.
Step 5: Connect the New Sensors
Attach the wires to the new sensors as they were on the old ones. If your new sensors come with different colored wires, refer to the manual for proper installation.
Step 6: Mount the New Sensors
Place the new sensors in the mounting brackets. Before tightening the screws, ensure that they are at the same height and directly across from each other.
Step 7: Align the Sensors
Use a level to make sure both sensors are perfectly horizontal. This ensures the infrared beam is straight and can properly detect any obstructions.
Step 8: Test the Sensors
Turn the power back on and test the sensors by closing the garage door and placing an object in its path. If the door reverses, the sensors are working correctly.
Step 9: Secure the Wiring
Ensure that the wires are not hanging loosely where they can be snagged or damaged. Use electrical tape to secure them to the wall or ceiling if necessary.
Troubleshooting Tips
If your garage door still doesn’t close properly after replacing the sensors, consider the following:
- Double-check the alignment of the sensors.
- Make sure there’s no dirt or spider webs blocking the sensors.
- Check the wiring for any signs of damage or loose connections.
Regular Maintenance
To ensure the longevity and proper functioning of your garage door sensors:
- Clean the lenses with a soft cloth periodically.
- Check the alignment every few months.
- Inspect the wires for signs of wear or damage.
By performing regular maintenance, you can prevent many common issues with your garage door sensors.
Professional Help in Miami, FL
While replacing a garage door sensor is a manageable DIY project for many, sometimes it’s best to call in the professionals, especially when dealing with electrical components or if you’re not comfortable with the task at hand, such as intricate garage door repair.
Conclusion
Your garage door is an essential part of your Miami home, and keeping it functioning safely and efficiently is crucial. Replacing a faulty garage door sensor is a straightforward process that can save you from potential hazards and inconveniences. By following the steps outlined in this guide, you can ensure that your garage door operates seamlessly.
However, if you find yourself in need of assistance, don’t hesitate to reach out to the experts. In Miami, FL, All American Doors is your go-to source for all garage door services. Our team of skilled technicians can provide you with the help you need, from sensor replacement to complete door overhauls. We pride ourselves on delivering top-notch service and quality workmanship, ensuring your garage door system works perfectly for years to come.
For more information, and advice, or to schedule a garage door repair sensor in Miami, FL visit, contact All American Doors. We’re here to ensure the safety and functionality of your garage door, so you can enjoy the comfort and convenience of your home without any worries.