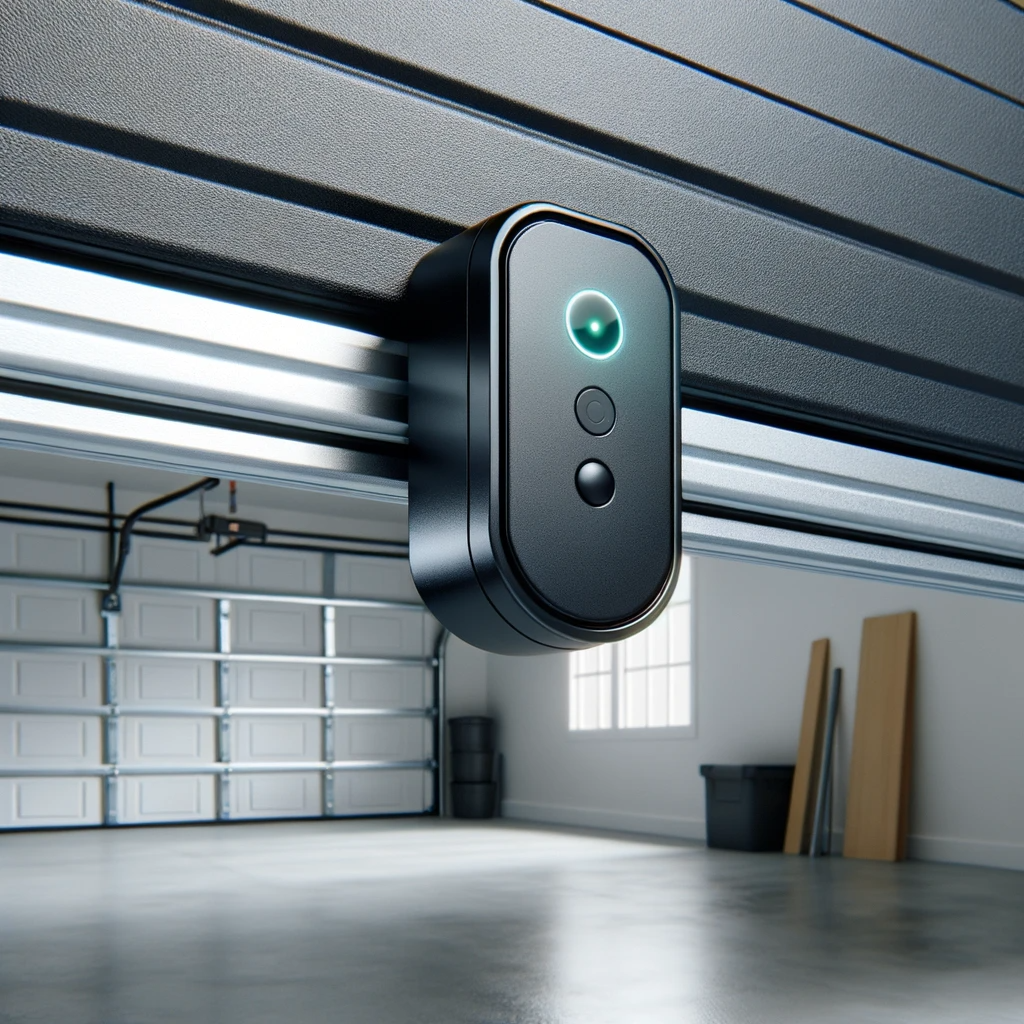
The garage door sensor is a crucial component of any garage door system. It is responsible for detecting any obstacles or obstructions in the door’s path, ensuring the safety of both your vehicle and your property.
The sensor works by emitting an infrared beam across the door opening, and if the beam is interrupted, the sensor signals the door to stop closing or opening. Understanding the importance of the garage door sensor and knowing when it needs replacement or optimization is essential for maintaining the efficiency and safety of your garage door system.
The garage door sensor plays a vital role in the overall functioning of your garage door system, including ensuring the safety of your space. Its primary purpose is to prevent accidents and injuries by detecting any objects or people in the path of the door. Without a properly functioning sensor, the door could close on something or someone, causing significant damage or harm, potentially necessitating garage door repair. Additionally, a faulty sensor can lead to unnecessary wear and tear on the door mechanism, resulting in costly repairs or replacements.
Signs That You Need Garage Door Sensor Replacement
Over time, sensors may start to malfunction or wear out. It is essential to recognize the signs indicating that your garage door sensor needs replacement. One common sign is when the garage door starts to close and immediately reverses back up without obstructing its path. This may indicate that the sensor is not detecting the infrared beam properly. Another sign is if the garage door does not close completely and then opens back up. This could be due to a misaligned sensor or a faulty connection. If you notice any of these signs, it is crucial to consider replacing your garage door sensor to ensure the safety and efficiency of your garage door system.
Step-by-step Guide on Garage Door Sensor Replacement
Replacing a garage door sensor may seem like a daunting task, but with the right tools and instructions, it can be a relatively straightforward process. Here is a step-by-step guide to help you replace your garage door sensor:
- Prepare the area: Start by disconnecting the power to your garage door opener. This will ensure your safety while working on the sensor replacement. Then, clear any obstructions or debris around the sensor area to have a clean workspace.
- Remove the old sensor: Locate the old sensor, which is usually mounted near the bottom of the garage door tracks. Unscrew the mounting brackets and carefully disconnect the wires connected to the sensor. Remove the old sensor from its position.
- Install the new sensor: Take the new sensor and position it in the same location as the old one. Attach the mounting brackets and secure them tightly. Connect the wires to the corresponding terminals on the sensor.
- Test the new sensor: Once the new sensor is installed, restore the power to your garage door opener and test the sensor’s functionality. Open and close the garage door to ensure that the sensor is detecting obstacles and working correctly.
Troubleshooting Common Issues with Garage Door Sensor
While replacing the garage door sensor can solve many issues, there are times when troubleshooting can fix minor problems. Here are some common issues with sensors and how to troubleshoot them:
- Sensor misalignment: If your garage door is not closing completely or reversing back up, it may be due to sensor misalignment. Check if the sensors are properly aligned and facing each other. Adjust them if necessary and ensure that there are no obstructions blocking the infrared beam.
- Dirty sensors: Dust, dirt, or debris on the sensors can interfere with their functionality. Clean the sensors with a soft, dry cloth to remove any dirt or grime. Ensure that the sensors are completely clean and free from any obstruction.
- Weak sensor signal: If your sensor is not working correctly, it may be due to a weak signal. Check the batteries in the sensor and replace them if needed. Additionally, ensure that there are no other electronic devices interfering with the sensor’s signal.
Aligning Garage Door Sensor for Optimal Performance
Proper alignment of the garage door sensor is crucial for optimal performance. Here are some steps to ensure that your sensors are correctly aligned:
- Check the sensor positions: Verify that both sensors are at the same height and facing each other. They should be mounted on each side of the garage door, approximately six inches above the ground.
- Use a level: Use a level to ensure that the sensors are perfectly aligned horizontally. Adjust the sensors if they are not level, ensuring that they are parallel to each other.
- Secure the sensors: Once the sensors are aligned, secure them tightly in their positions. Ensure that the mounting brackets are secure and that the sensors do not move or vibrate during the door operation.
Tips for Optimizing the Efficiency of Your Garage Door Sensor
To maximize the efficiency of your garage door sensor, consider the following tips:
- Regular maintenance: Clean the sensors regularly to keep them free from dirt and debris. Inspect the sensor wires for any damage or loose connections and repair or replace them if necessary.
- Test the sensors: Periodically test the functionality of your garage door sensors by placing an object in the path of the Garage door. Observe if the door stops and reverses when the object interrupts the infrared beam.
- Keep the sensor area clear: Ensure that no obstructions are blocking the sensors’ view, such as boxes, tools, or other items. This will prevent false detections and ensure accurate operation.
Frequently Asked Questions about Garage Door Sensor
- How do I know if my garage door sensor is working? You can test the functionality of your garage door sensor by placing an object in the door’s path. If the door stops and reverses when the object interrupts the infrared beam, the sensor is working correctly.
- Can I replace the garage door sensor myself? Yes, replacing a garage door sensor can be done as a DIY project. However, if you are unsure or uncomfortable with the process, it is recommended to seek professional assistance.
- How often should I replace my garage door sensor? Garage door sensors generally have a lifespan of around 5-10 years. However, if you notice any signs of malfunction or damage, it is advisable to replace them as soon as possible.
Professional Services for Garage Door Sensor Replacement and Optimization

If you are unsure about replacing or optimizing your garage door sensor yourself, it is always best to seek professional services. All American Garage Doors offers expert assistance in garage door sensor replacement and optimization. With their skilled technicians and quality service, you can ensure that your garage door sensor is functioning efficiently and safely.
Conclusion
Maximizing the efficiency of your garage door with sensor replacement and optimization, as well as addressing any necessary garage door repair, is crucial for the safety and functionality of your garage door system. Understanding the importance of the garage door sensor, recognizing signs of replacement, and following a step-by-step guide can help you maintain a well-operating garage door. Troubleshooting common issues, aligning the sensors correctly, and optimizing their efficiency through regular maintenance will ensure the longevity and reliability of your garage door sensor. If you need professional assistance, All American Garage Doors is just a call away. Get in touch today for a free estimate or to schedule an appointment.
Contact All American Garage Doors today for a FREE Estimate or to schedule an appointment.


